Midjourney Prompting Guide: Master AI Art with Advanced Prompts
Unlock the full potential of Midjourney AI with this comprehensive guide. Learn to craft effective prompts, utilize advanced parameters, and master techniques for stunning AI image generation.

This guide will help you create stunning AI-generated images with Midjourney by mastering prompt crafting techniques and understanding key parameters. Learn to avoid common pitfalls and get better results with your Midjourney prompts.
Understanding Midjourney
Midjourney is an AI image generation model that creates images from text descriptions. The quality and style of the generated images heavily depend on how well you craft your prompts.
Note:
Midjourney V6 introduces significant improvements in photorealism, accuracy, and coherence. The prompting techniques in this guide are optimized for V6 but work across all versions.
Key Prompting Components
Subject Description
Style and Medium
Lighting and Atmosphere
Composition and View
Advanced Parameters
Aspect Ratio
Aspect Ratio
Image Quality and Detail
Image Quality and Detail
Style Control
Style Control
Prompt Structure Best Practices
- Basic Structure:
[Subject] [Action/Pose] [Environment], [Style], [Lighting], [Camera Angle] --ar [ratio] --q [quality]
- Adding Details:
[Main Element], [Material], [Color], [Size], [Additional Details], [Artistic Style], [Lighting], [Atmosphere]
Example Prompts
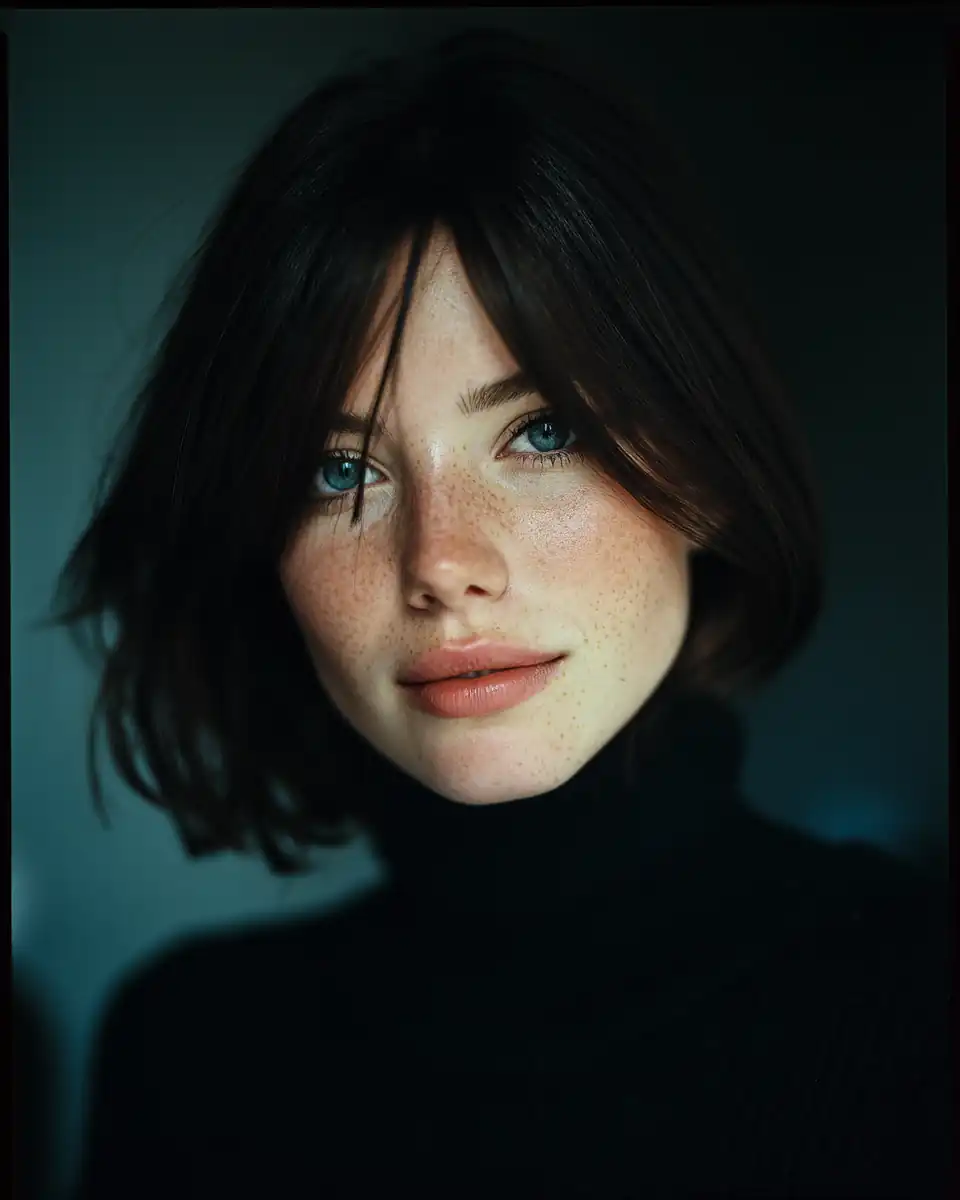
Portrait Photography

Professional portrait of a young woman, soft natural lighting, shallow depth of field, shot on Hasselblad, Kodak Portra 400 film simulation --ar 4:5 --q 2
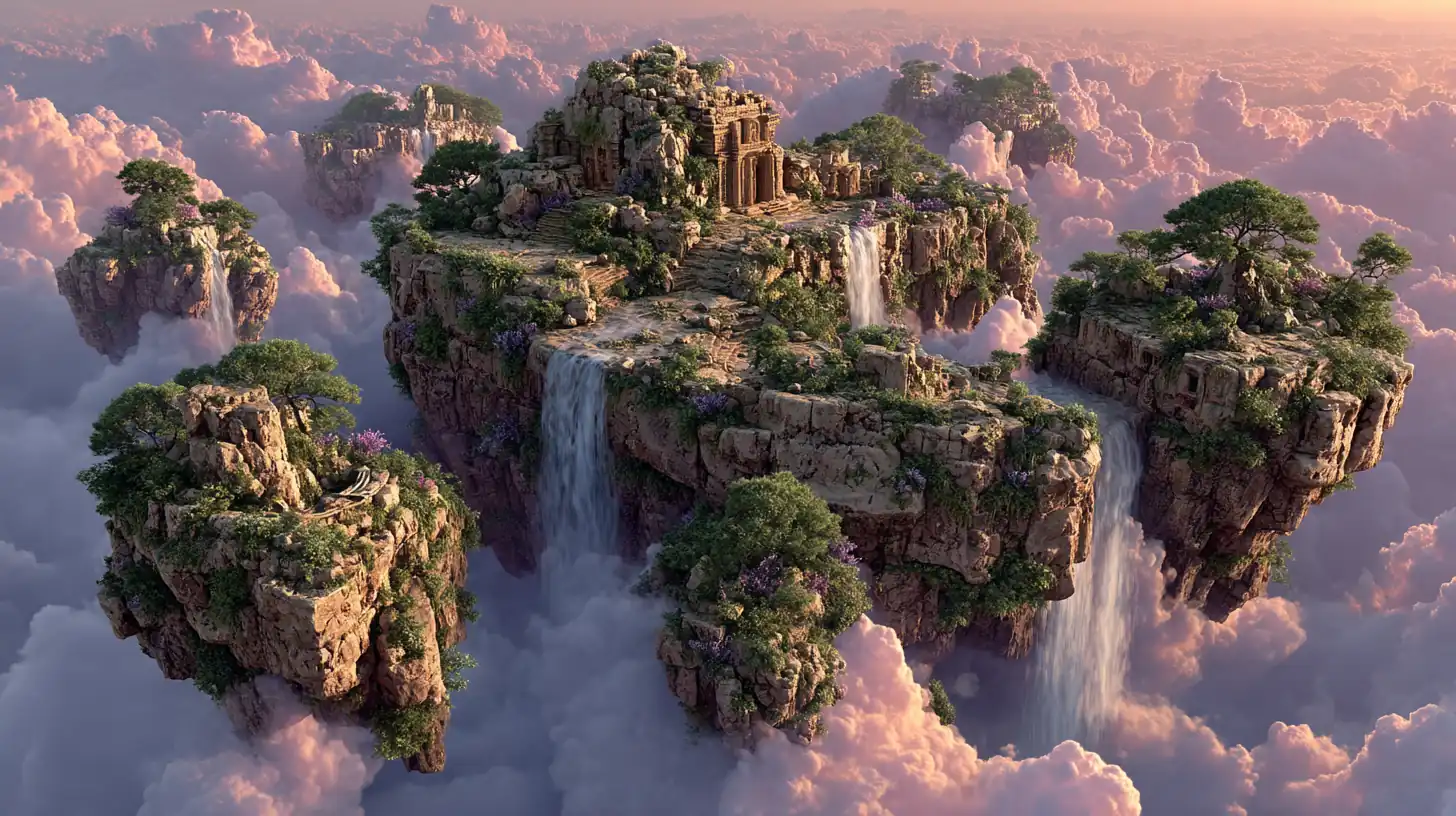
Fantasy Landscape

Mystical floating islands with waterfalls, ancient ruins covered in bioluminescent plants, ethereal atmosphere, golden hour lighting, epic wide shot, fantasy concept art, dramatic clouds, volumetric lighting --ar 16:9 --q 2 --s 400 --c 20
Product Visualization

Designer aviator sunglasses with gradient lenses, gold metal frame, dramatic lighting with lens flare, luxury product photography, fashion accessory advertising, reflective surfaces, premium aesthetic --ar 1:1 --q 2 --s 150 --style raw --c 5
Common Pitfalls to Avoid
- Overcomplicated Prompts: Keep prompts clear and focused
- Contradictory Terms: Avoid conflicting style descriptions
- Vague Descriptions: Be specific about important details
- Missing Key Elements: Include style and composition information
Tips for Better Results
- Start with basic prompts and iterate based on results
- Save successful prompts as templates
- Experiment with different parameter combinations
- Use reference images with
--iwfor style matching
Note:
Midjourney has content policies that prohibit certain types of images. Always review the guidelines to ensure your prompts comply with platform rules.
Version-Specific Features
V6 Capabilities
- Enhanced photorealism
- Better prompt understanding
- Improved coherence
- More accurate text rendering
- Better handling of complex scenes
Best Practices for V6
- Use natural language descriptions
- Focus on detailed subject descriptions
- Leverage new style mixing capabilities
- Experiment with subtle parameter adjustments
V7 Capabilities (Released April 2025)
- Draft Mode: 10x faster generation at half the cost for rapid prototyping
- Enhanced Realism: Superior textures, lighting, and anatomical accuracy (hands, bodies, objects)
- Personalization by Default: Auto-tunes to your preferences with multiple profile support
- Advanced Prompt Interpretation: Better understanding of complex, nuanced prompts
- Omni Reference: Improved style and character consistency across generations
- Improved Upscalers: Sharper details and better preservation at higher resolutions
Best Practices for V7
- Leverage Draft Mode: Use for initial concept exploration, then refine with standard mode
- Utilize Personalization: Rate your generated images to train your personalized aesthetic
- Be Specific with Details: V7's improved interpretation handles complex, detailed prompts better
- Experiment with Omni Reference: Maintain consistency across character designs and style references
- Natural Language: Write prompts conversationally—V7 understands context and nuance
Explore More Midjourney Techniques
Dive deeper into specialized prompting techniques:
- Art Styles - Master different artistic styles and visual aesthetics
- Characters - Create compelling character designs and portraits
- Environments - Generate immersive landscapes and settings
- Objects - Design detailed and stylized items
- SREF Codes - Use style reference codes for consistent aesthetics
Related Articles
Product & Commercial Minimalism SREF Codes
Clean product photography and commercial design aesthetics with studio minimalism and modern brand style.
Nature Photography SREF Codes
Professional nature and wildlife photography SREF codes for Midjourney including landscapes, wildlife, macro, and botanical photography.
Code Generation with AI
Generate clean, efficient code with AI assistance. Learn advanced techniques, best practices, and real-world applications for AI-powered code generation.