CLI-First Antigravity Image Pipeline
Build sites with fast CLI tools, generate images in Antigravity with Nano Banana, and compress to WebP with cwebp. All under one Google AI Pro plan.
CLI-First Antigravity Image Pipeline
Fast terminal tools for code. Antigravity for images. cwebp for production. This is the full-stack pipeline that keeps development fast and assets professional — all under one $19.99/mo Google AI Pro plan.
Why This Pipeline Exists
The problem with AI coding tools: none of them generate images. You code in Claude Code, switch to Midjourney for a hero image, open Figma for a diagram. Three tools, three contexts, three subscriptions.
Antigravity changed that. Nano Banana image generation is native to the platform. Describe what you need, get a production-ready image. But Antigravity 2.0 is memory-hungry — fine for generating images, heavy for long coding sessions.
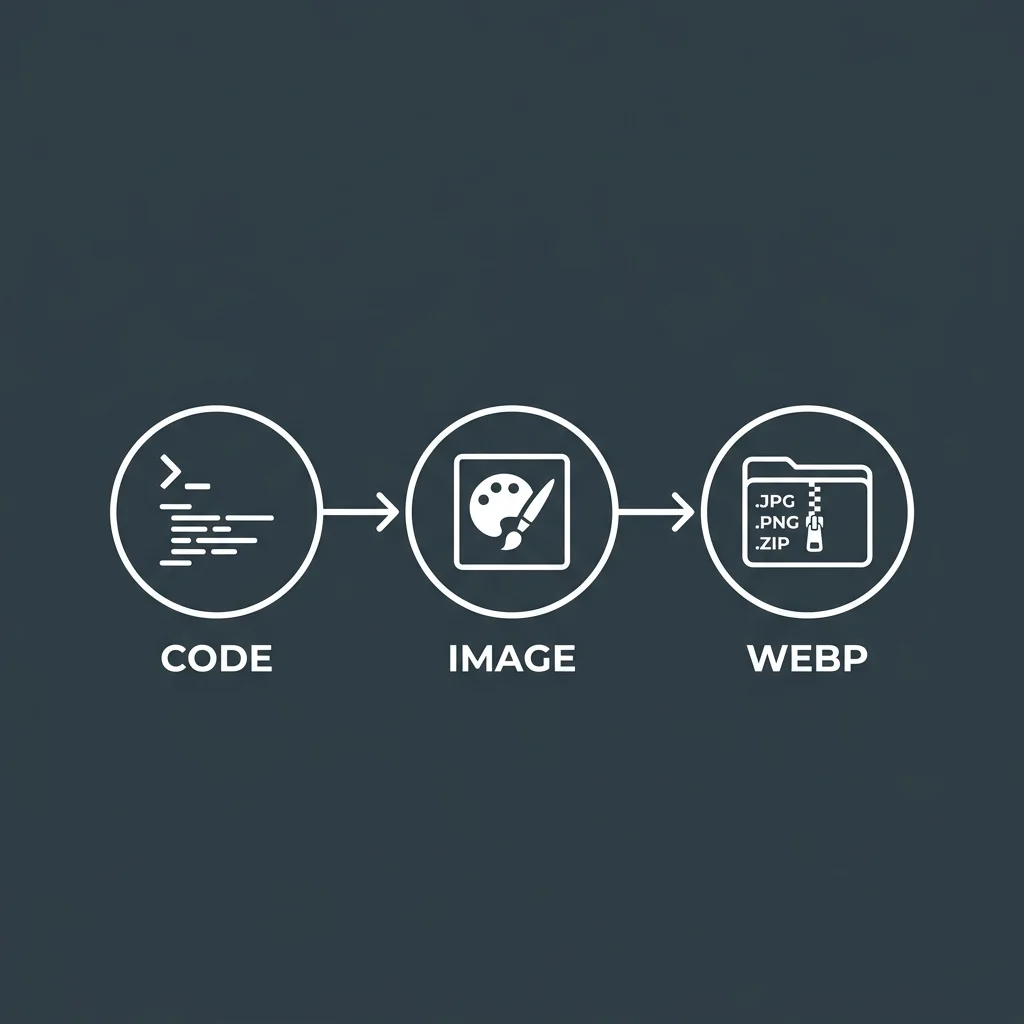
The pipeline splits the work across the right tools:
- Fast CLI (Claude Code, OpenCode, agy) → Code
- Antigravity + Nano Banana → Images
- cwebp → Compress for production
The Full Stack
| Stage | Tool | Role | Cost |
|---|---|---|---|
| Code | CLI tools | Build site, write pages, generate content | Free / API |
| Images | Antigravity 2.0 | Nano Banana image generation | Pro plan |
| Compress | cwebp | Convert PNG → WebP at 80% smaller size | Free (OSS) |
| Deploy | Cloudflare Pages | Host static site | Free tier |
Everything fits under one subscription if you're on Google AI Pro ($19.99/mo). The CLI tools are free. cwebp is open source. Cloudflare Pages is free tier.
Stage 1: Development — Use CLI Tools
All coding happens in fast CLI tools. No Antigravity — it's too memory-heavy for all-day coding.
# Claude Code for architecture and complex work
claude

# or OpenCode for multi-provider flexibility
opencode

# or agy (Antigravity CLI) if you prefer Google's stack
agy
Build your site with placeholder images:
<!-- During development -->
<img src="/images/placeholder-hero.png" alt="Hero section" width="1200" height="630" />
<!-- For blog posts -->
<meta property="og:image" content="/images/placeholder-og.png" />
Keep shipping code. Assets come later. Placeholders let you validate layout, responsive breakpoints, and loading behavior without blocking on image generation.
Placeholder conventions
Create a small set of reusable placeholders:
public/images/
├── placeholder-hero.png      # 1200x630, solid color with label
├── placeholder-og.png        # 1200x630, "OG Image Coming Soon"
├── placeholder-diagram.png   # 800x600, "Diagram placeholder"
└── placeholder-icon.png      # 64x64, solid square
Use a consistent naming convention. When you generate real images, you'll know exactly what to replace.
Stage 2: Image Generation — Use Antigravity
When code is stable and content is written, switch to Antigravity. Open the app and prompt Nano Banana for each image.
Hero Images
Landing pages, section headers, feature showcases. Wide format, high impact:
Generate a hero image for a developer tools landing page.
Dark theme with subtle code patterns in the background.
Blue (#3B82F6) and cyan (#06B6D4) accents.
Geometric shapes suggesting data flow.
Modern, clean, professional.
16:9 aspect ratio, 2K resolution.
No text overlay — image only.
Save as public/images/hero.webp after compression.
OG Images
Social media preview cards. Standard 1200x630, needs title and branding:
OG image for a technical blog post titled "Multi-Model Workflows
with OpenCode". Dark background with subtle gradient. Title text
in Inter Bold, white. Accent line in #3B82F6 below the title.
Bottom right: promptgenius.net logo mark.
Clean, minimal, readable at small sizes.
1200x630, 2K resolution.
UI Mockup References
Before coding a complex component, generate a visual reference:
UI mockup for a developer dashboard. Left sidebar navigation
with icons. Main content area showing a data table with sortable
columns. Top bar with search and user avatar.
Follow Material Design 3. Neutral gray (#1E293B) background,
white cards with subtle shadows.
16:9, 2K resolution.
The mockup isn't the final design — it's a visual compass. Code the component with the mockup as reference.
Diagram Illustrations
Architecture diagrams, data flow, system overviews:
Technical diagram showing a Next.js app deployed to Cloudflare
Pages, with a Cloudflare Workers API layer, D1 database, and
Clerk authentication. Arrows showing data flow.
Clean, professional, dark theme with blue accent lines.
Components as rounded rectangles with labels.
16:9, 2K resolution.
Icon Sets
Generate a set of consistent icons:
Set of 6 icons for developer tools: code editor, terminal,
database, cloud deployment, API gateway, authentication.
Minimal line-art style. Monochrome, white (#FFFFFF) on
transparent background. Consistent 24px grid.
Square format, 2K resolution per icon.
Prompt Quality Checklist
Nano Banana responds to detail. The more specific, the better:
- Colors: Use hex codes, not words.
#3B82F6not "blue." - Fonts: Name the font. "Inter Bold" not "bold font."
- Lighting: Use photographic terms. "Soft diffused lighting," "rim light from top right."
- Composition: Layer descriptions. Background → midground → foreground.
- Resolution: Always specify. 2K for web, 4K for print-quality.
- What to exclude: "No text" or "text overlay only" — be explicit.
See the Nano Banana prompts section for detailed prompt patterns across every image type.
Stage 3: Compression — Use cwebp
Generated images are uncompressed PNGs. A 2K hero image can be 3-5 MB. Convert to WebP — visually identical at 80% smaller file size.
Installation
# macOS
brew install webp

# Linux (Ubuntu/Debian)
sudo apt install webp
# Other distros: package may be named libwebp-tools

# Verify
cwebp -version
Compression Guide
| Asset Type | Quality | Typical Size Reduction | Command |
|---|---|---|---|
| Hero images | 85 | 70-80% | cwebp -q 85 input.png -o output.webp |
| OG images | 80 | 75-85% | cwebp -q 80 input.png -o output.webp |
| Diagrams | 90 | 60-70% | cwebp -q 90 input.png -o output.webp |
| Thumbnails | 75 | 80-90% | cwebp -q 75 input.png -o output.webp |
| Icons | 95 | 50-60% | cwebp -q 95 input.png -o output.webp |
| Lossless | — | 20-30% | cwebp -lossless input.png -o output.webp |
Batch Compression
#!/bin/bash
# Compress all PNGs in a directory to WebP
# Usage: ./compress-images.sh public/images/

DIR="${1:-.}"
QUALITY="${2:-85}"

for img in "$DIR"/*.png; do
  base="${img%.png}"
  echo "Compressing $img → ${base}.webp"
  cwebp -q "$QUALITY" "$img" -o "${base}.webp"
done

echo "Done. Check file sizes:"
ls -lh "$DIR"/*.webp
Before/After Comparison
# Visual comparison requires ImageMagick (brew install imagemagick / apt install imagemagick)
convert hero.png hero.webp -append comparison.png

# Or just check sizes numerically (no extra tools needed)
ls -lh hero.png hero.webp
# hero.png  3.2 MB
# hero.webp 584 KB  (82% smaller)
Update HTML References
After compression, update all placeholder references:
<!-- Before -->
<img src="/images/placeholder-hero.png" alt="Hero" />

<!-- After -->
<img src="/images/hero.webp" alt="Hero" width="1200" height="630" />
<meta property="og:image" content="https://example.com/images/og-post.webp" />
Full Pipeline Script
Automate stages 2 and 3 with a shell script:
#!/bin/bash
# antigravity-pipeline.sh — Compress all images in a directory
# Run after generating images in Antigravity

IMAGES_DIR="${1:-public/images}"
QUALITY="${2:-85}"

echo "=== Antigravity Image Pipeline ==="
echo "Directory: $IMAGES_DIR"
echo "Quality: $QUALITY"
echo ""

# Count images
PNG_COUNT=$(find "$IMAGES_DIR" -name "*.png" -maxdepth 1 | wc -l | tr -d ' ')
echo "Found $PNG_COUNT PNG files"

# Compress each
for img in "$IMAGES_DIR"/*.png; do
  base="${img%.png}"
  size_before=$(stat -f%z "$img" 2>/dev/null || stat -c%s "$img" 2>/dev/null)

  cwebp -q "$QUALITY" "$img" -o "${base}.webp" > /dev/null 2>&1

  size_after=$(stat -f%z "${base}.webp" 2>/dev/null || stat -c%s "${base}.webp" 2>/dev/null)
  reduction=$((100 - (size_after * 100 / size_before)))

  echo "  ${base##*/}.png → ${base##*/}.webp (${reduction}% smaller)"
done

echo ""
echo "Done. Update your HTML references from .png to .webp"
The Antigravity 2.0 Situation
Antigravity went through a significant change at Google I/O 2026 (May 19). Here's what matters for this pipeline:
The split
Google split Antigravity into four products:
| Product | What it is | For this pipeline |
|---|---|---|
| Antigravity 2.0 | Standalone chat app with tool use | Image generation |
| Antigravity CLI | Terminal tool (agy), replaces Gemini CLI | Optional coding tool |
| Antigravity SDK | Programmatic agent access | Not needed |
| Antigravity IDE | Old VS Code fork, still downloadable | Image generation |
What you need to know
- 2.0 and IDE can't run simultaneously. Installing both causes launch conflicts. Pick one.
- 2.0 is a chat app. No file tree, no editor, no terminal. Chat window with tool use. Fine for prompting Nano Banana — that's all you need for this pipeline.
- The old IDE still exists at antigravity.google/releases. If you prefer the VS Code fork, download v1.23.2 and set
"update.mode": "manual". - Gemini CLI is dead for consumer users. Migrated to
agy. Does not affect this pipeline — you can use any CLI tool for coding. - Nano Banana works in both 2.0 and the old IDE. Pick whichever loads faster for you.
Cost Analysis
Monthly cost for this pipeline
| Component | Plan | Cost/mo |
|---|---|---|
| Antigravity + Nano Banana | Google AI Pro | $19.99 |
| CLI tools | Free (Claude Code, OpenCode) | $0 |
| cwebp | Open source | $0 |
| Cloudflare Pages | Free tier | $0 |
| Total | $19.99 |
vs building with separate tools
| Component | Alternative | Cost/mo |
|---|---|---|
| Coding IDE | Cursor Pro | $20 |
| Image generation | Midjourney | $10-30 |
| Image compression | TinyPNG API | $5-20 |
| Hosting | Vercel Pro | $20 |
| Total | $55-90 |
One plan vs 4+ subscriptions.
Troubleshooting
Antigravity 2.0 won't launch
Two common causes: the IDE is already installed (conflict), or the update corrupted the install. Uninstall everything Antigravity-related, then reinstall only 2.0 or only the IDE.
WebP images look blurry
Quality too low. Use 85+ for hero images and 90+ for diagrams. If compression is too aggressive, bump up 5 points and re-run.
WebP files are still too large
Original image is too large. Check the resolution — 2K is typically 2560x1440. If the source is 4K, resize first:
# Resize to 2K before WebP conversion
convert input.png -resize 2560x1440 input-2k.png
cwebp -q 85 input-2k.png -o output.webp
Nano Banana doesn't understand my prompt
Be more specific. Instead of "modern website hero," write "dark gradient background from #0F172A to #1E293B, centered product screenshot with soft shadow, floating code snippets in the background at 30% opacity."
Colors look wrong in the generated image
Nano Banana supports hex codes. Use them: #3B82F6 is always exact. "Blue" is ambiguous — it could be anything from navy to sky.
Related Content
- Gemini + Antigravity Pattern — The cross-tool pattern this tutorial implements
- Multi-Model Workflows — Optimize CLI cost with provider switching
- Claude Code Cost Optimization — Keep CLI coding affordable
- Nano Banana Prompts — Prompt patterns for every image type
- Gemini CLI Getting Started — Installation and first session
Related Articles
Prompt Engineering in GitHub Copilot
Prompt patterns for GitHub Copilot chat, inline edits, and agent mode. Master workspace context, slash commands, step-by-step feature patterns, PR-focused prompting, and common pitfalls.
Claude Code — Getting Started
Install and configure Claude Code, Anthropic's terminal-based AI coding agent. Covers installation, API key setup, project configuration, and first session walkthrough.
Claude Code — AI Coding Agent
Complete guide to Claude Code, Anthropic's terminal-based AI coding agent. Covers installation, prompt engineering, configuration, CLAUDE.md patterns, and best practices.