Getting Started with Google Colab on a Paid Google AI Plan
Confirm your Google AI plan's Colab benefits, create a notebook, connect to a runtime, and choose a GPU. Understand the difference between the saved notebook and the temporary runtime.
Colab is a hosted Jupyter notebook: code runs on a cloud virtual machine that Google manages, not on your laptop. If you pay for an eligible Google AI plan, that account also receives Colab benefits — a monthly allotment of compute units and access to more powerful hardware — with no separate Colab subscription required.
This page gets you from subscription to a connected runtime. Everything here uses the same Google Account that pays for your Google AI plan; the benefits do not transfer across accounts.
Check what your plan gives you
- Open Google Colab and sign in with the subscribed account.
- Open any notebook, click the Connect dropdown's chevron in the top right, and choose View resources.
- The Resources panel shows your plan, your available compute units, and your usage rate.
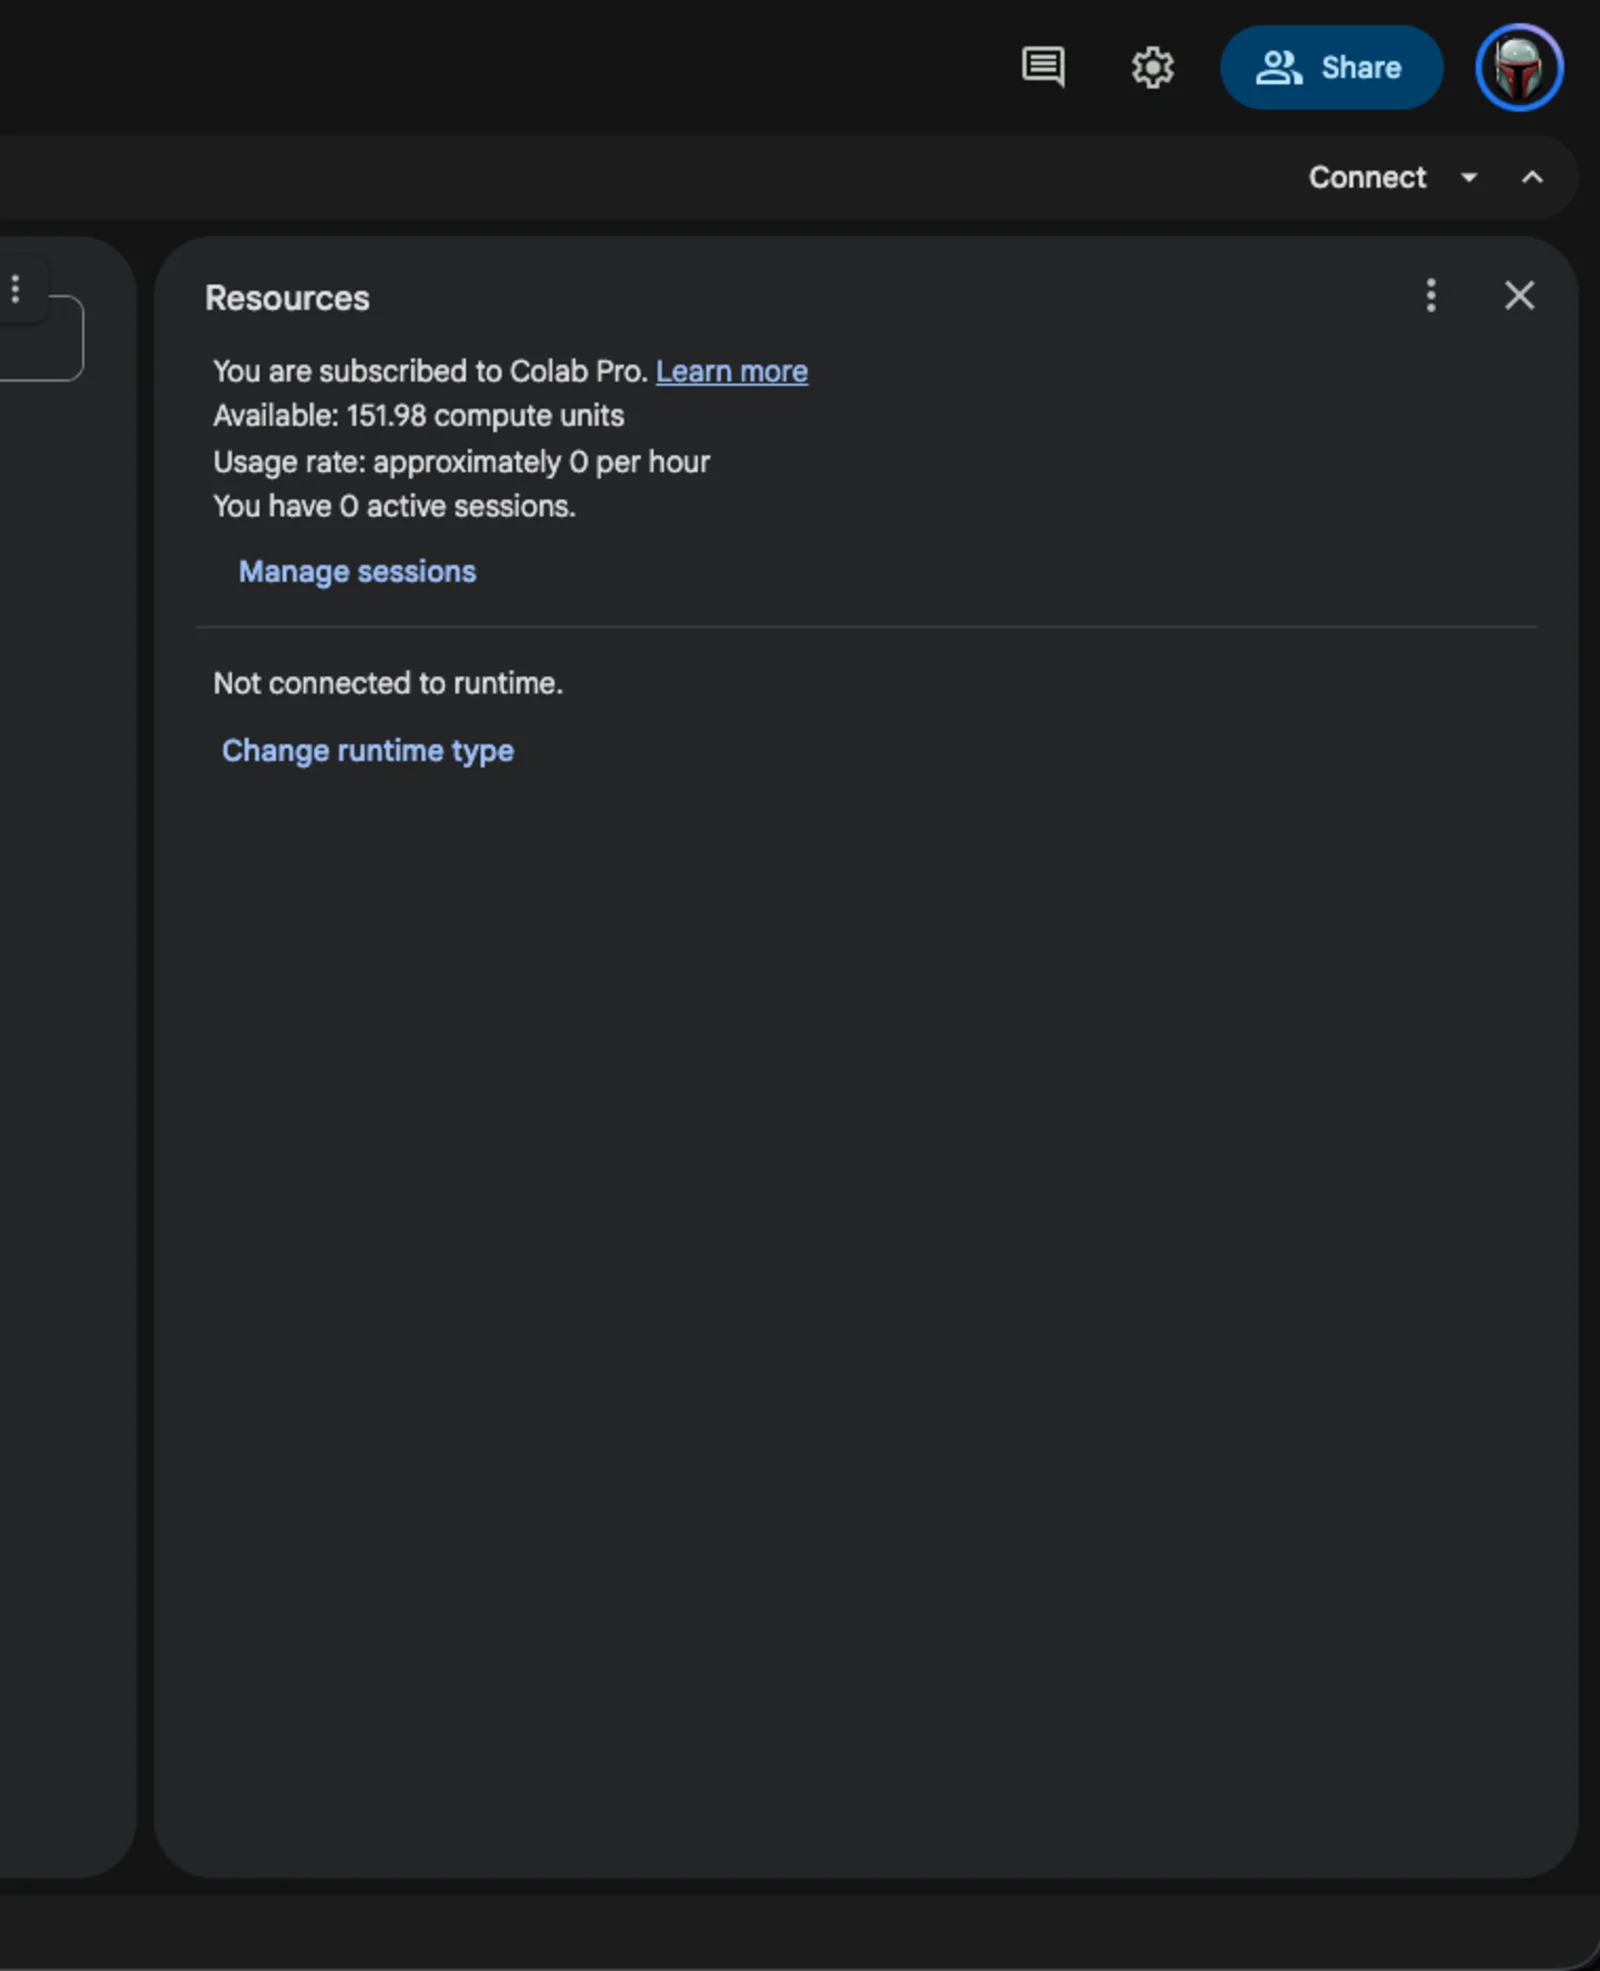
You can also confirm the subscription under Settings → Subscription. Note that the panel may say "Colab Pro" even when the compute units come from a Google AI plan — the benefits are applied to the same balance, so check the numbers rather than the label.
Google's Colab FAQ documents exactly what each plan includes. Benefits roll out over several weeks by country, so an eligible account may not show them immediately. Free trials and storage-only Google One plans do not qualify.
Create a notebook
From colab.research.google.com, click New notebook. You get an empty .ipynb with a single code cell.
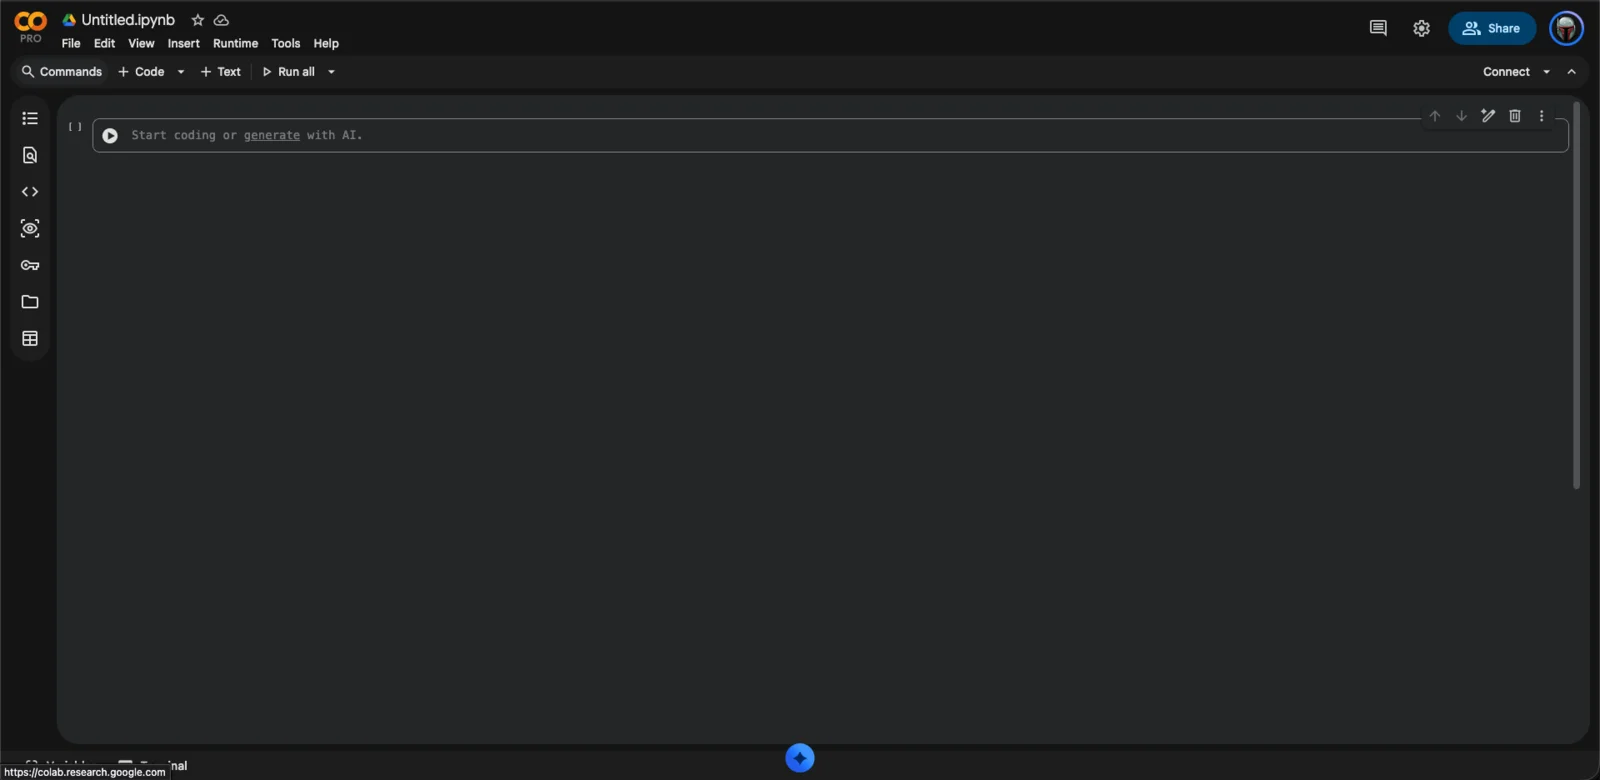
The notebook is a document that lives in Google Drive. Type code into a cell and run it with the play button or Shift+Enter; the first run connects to a runtime automatically.
Connect and pick a runtime
The Connect button allocates a runtime for the notebook. Its dropdown holds the useful controls:
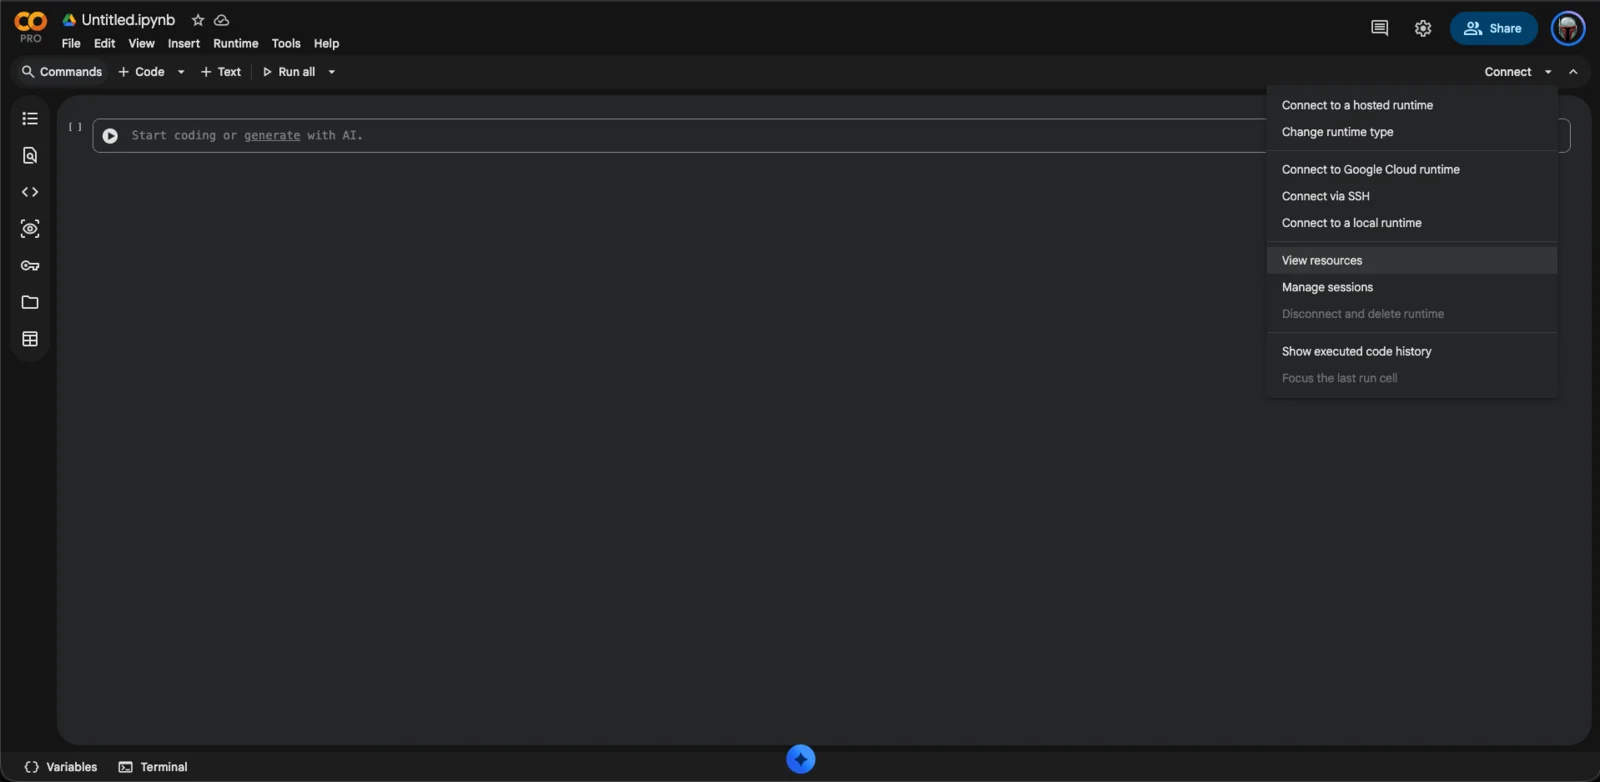
- Connect to a hosted runtime — the standard cloud VM.
- Change runtime type — choose the hardware.
- Manage sessions — see every runtime you have running; useful because forgotten runtimes quietly consume compute units.
- Disconnect and delete runtime — release the machine and wipe its disk.
Choose Runtime → Change runtime type to pick the accelerator:
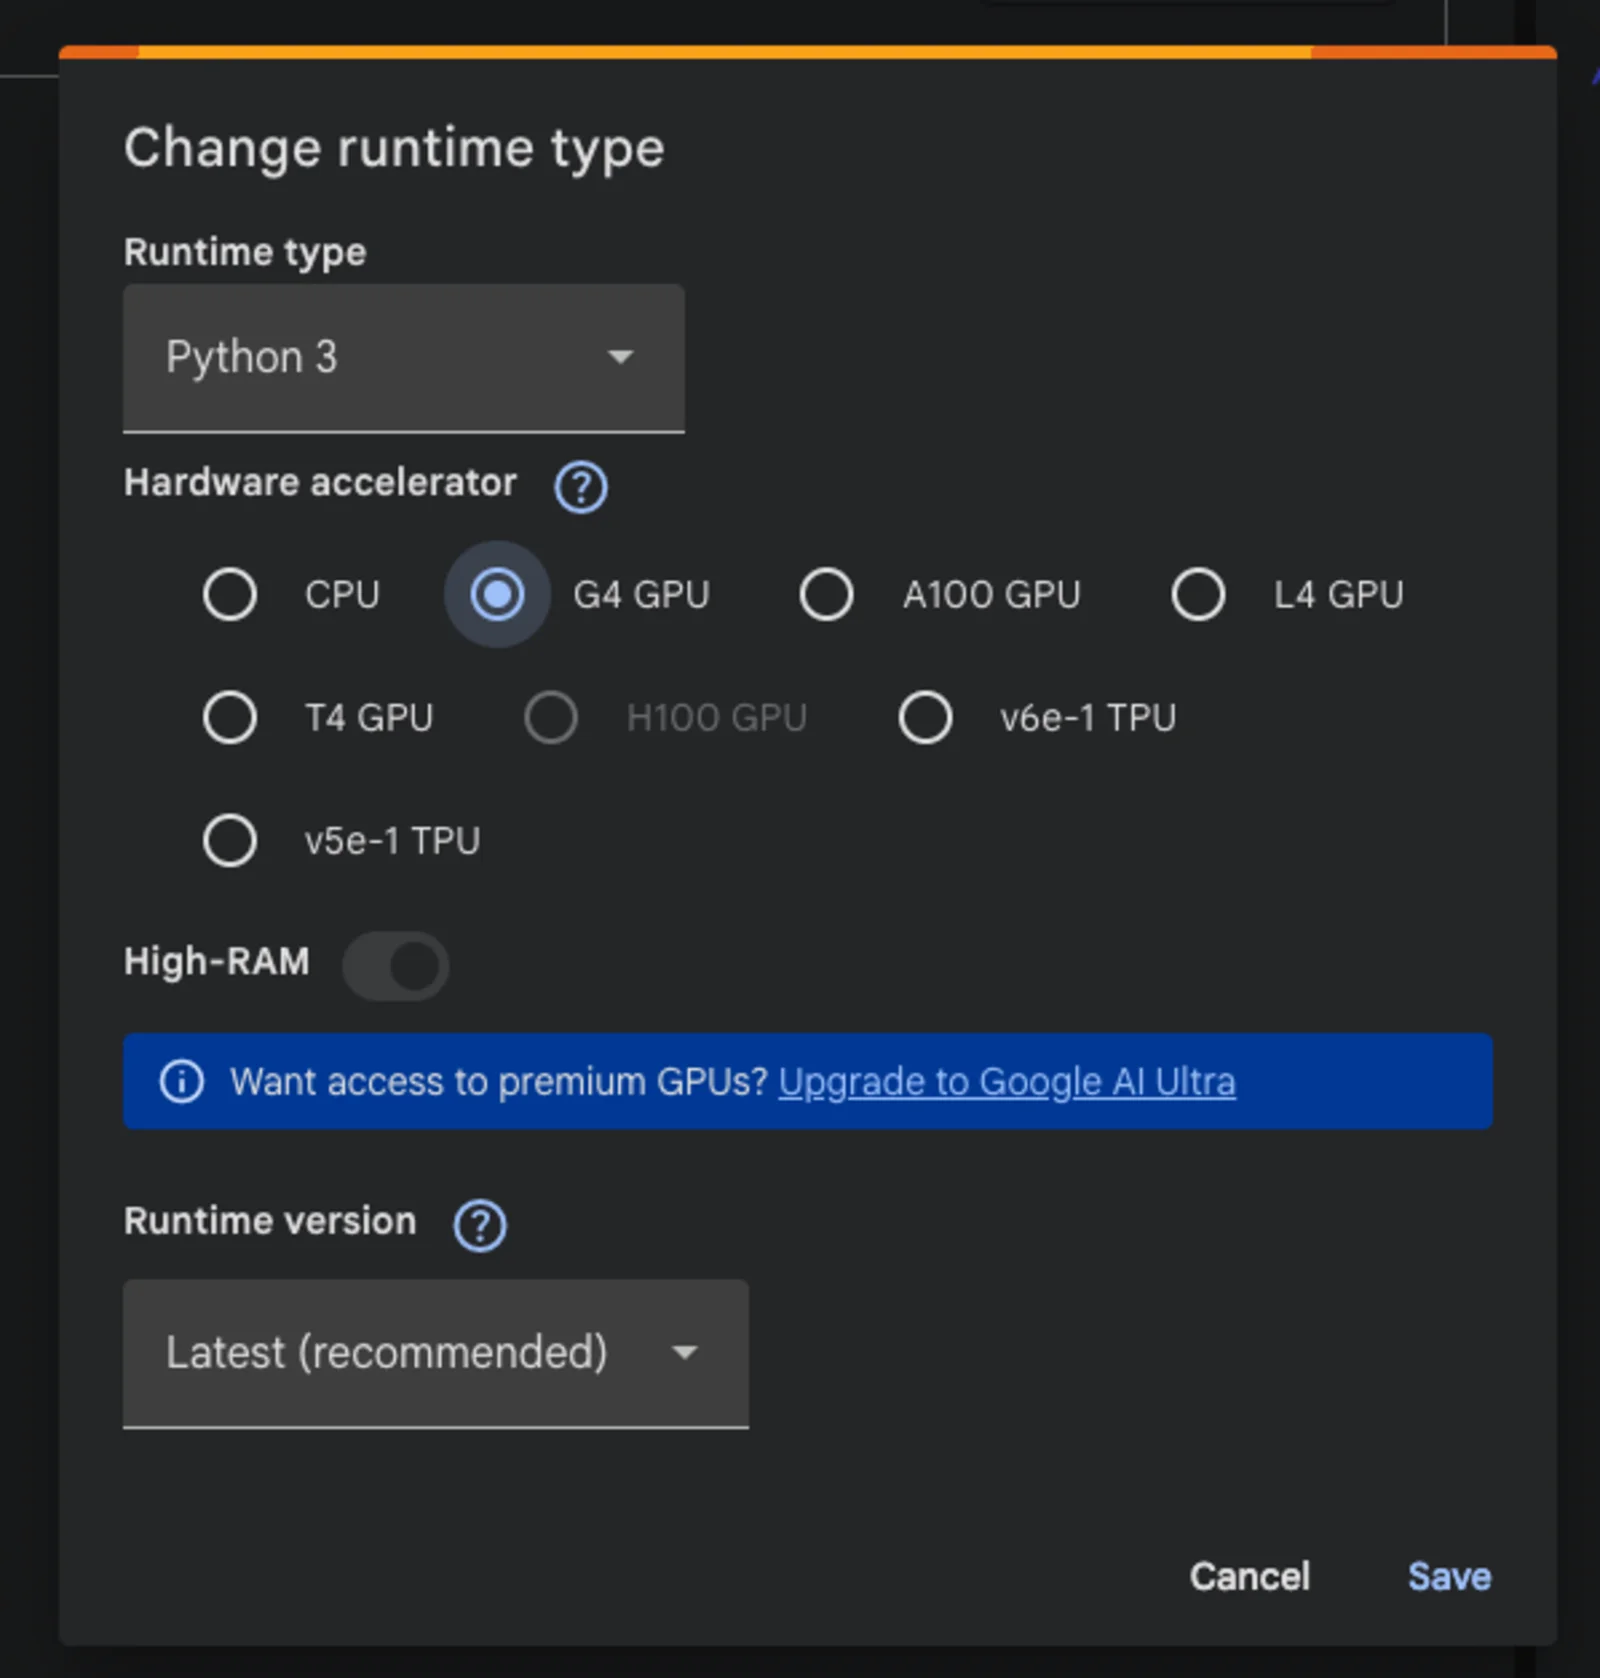
Options on a paid plan typically include CPU, T4, L4, A100, and G4 GPUs (an H100 may appear but requires a higher tier), plus v5e-1 and v6e-1 TPUs. A High-RAM toggle switches to a larger machine shape when available.
Rules of thumb:
- Start on CPU for spreadsheets, text processing, and small Python work. A GPU idles expensively.
- Choose a GPU only when the task needs one — image or video generation, model fine-tuning, or CUDA-dependent tools.
- Do not expect a specific GPU. Colab allocates whatever is available at connection time. Availability varies by demand and plan.
What you are actually renting
Two different things happen in one browser tab:
- The notebook is a file in Drive — code, markdown, and saved outputs. It survives disconnects.
- The runtime is the virtual machine — CPU, RAM, disk, GPU. Google deletes idle runtimes and enforces a maximum lifetime. Anything you installed or downloaded onto the machine disappears with it.
That asymmetry is the mental model for everything else in this section. Packages you pip install, models you download, and files you create exist only until the runtime dies. The Working in Colab guide covers how to keep what matters: mount Drive for persistence, and check what hardware you were actually assigned before blaming your code.
Your first five minutes
Run these in a fresh notebook to see what you got:
!nvidia-smi
On a GPU runtime this prints the GPU model, its VRAM, and current usage. On a CPU runtime it prints nothing useful — the command only exists for NVIDIA hardware.
import os
print("CPU cores:", os.cpu_count())
print("RAM (GB):", round(os.sysconf("SC_PAGE_SIZE") * os.sysconf("SC_PHYS_PAGES") / 1e9, 1))
print("Disk free (GB):", round(__import__("shutil").disk_usage("/").free / 1e9, 1))
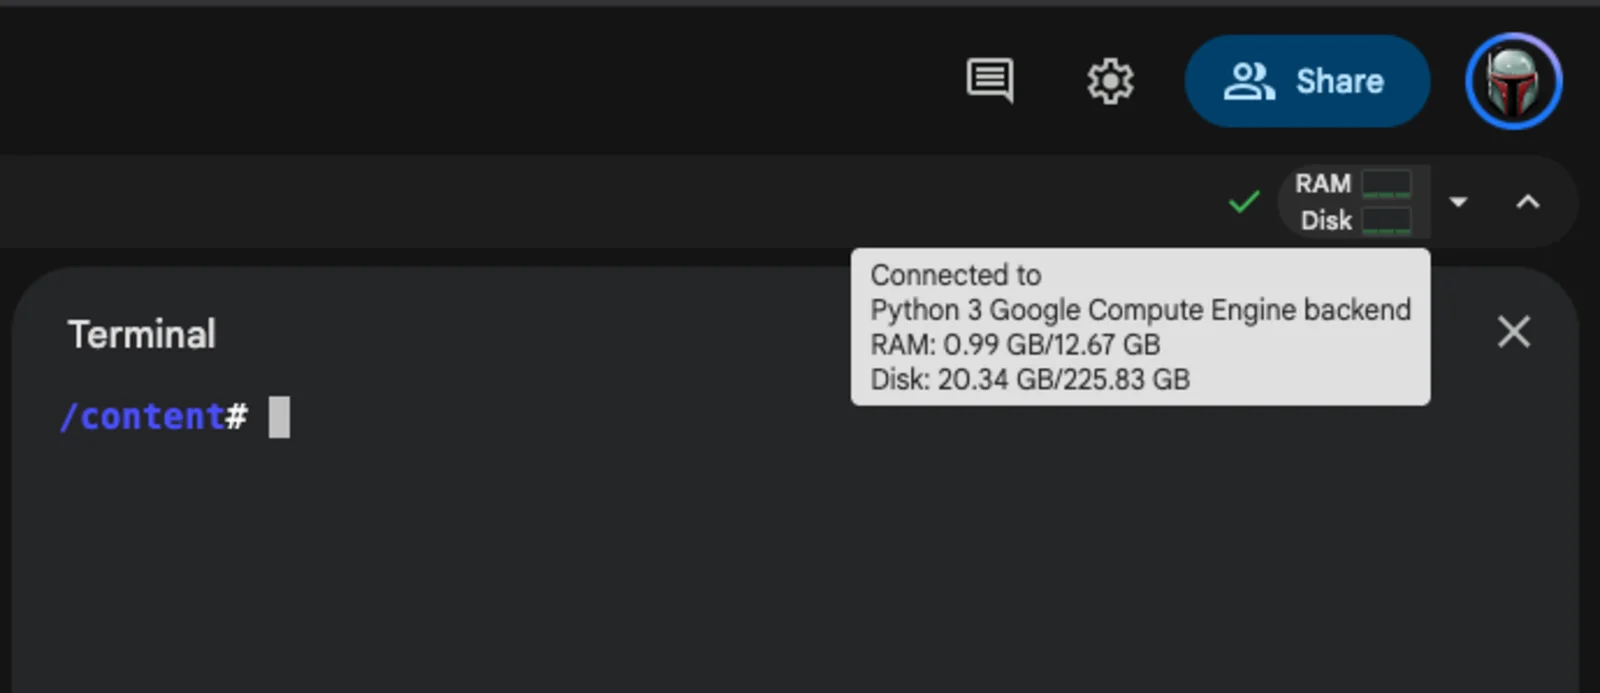
The RAM and disk figures also appear in a tooltip next to the connection status in the toolbar:
Next steps
- Working in Colab — Drive files, GPU details, the CLI, and web UI access.
- Hugging Face Models in Colab — download open-weight models without wasting disk or compute units.
- Run Qwen-Image 2.1 — a first end-to-end GPU project.
Related Articles & Guides
Google Colab Guides — GPUs, Drive, CLI, and Open-Weight Models
Practical Google Colab guides: get started with a paid Google AI plan, mount Drive, manage GPU runtimes and compute units, use the Colab CLI, and run Qwen-Image and MiniMax H3 in ComfyUI.
 #google-colab
Test Image and Video Models on Colab GPUs: One VM, Mix and Match
Run keyframe and image-to-video models on one Colab VM, swap models and GPUs through one storyboard, and measure time, VRAM and quality to find the best fit.
Working in Colab — Drive Files, GPU Details, the CLI, and Web UIs
Mount Google Drive for persistence, inspect GPUs and compute units, manage runtimes from the terminal with the Colab CLI, and reach web UIs like ComfyUI through proxies and tunnels.